Auroras are made when particles bump into atoms and molecules in the Earth’s upper atmosphere, giving them energy. The atoms and molecules then give off that energy as light in specific colors: red, green, blue, and pink. But why on rare occasions do auroras seem to have yellow, cyan, or purple in them? In this post, we’ll share one way to creatively demonstrate how this can be. It’s best for ages 6 and up.

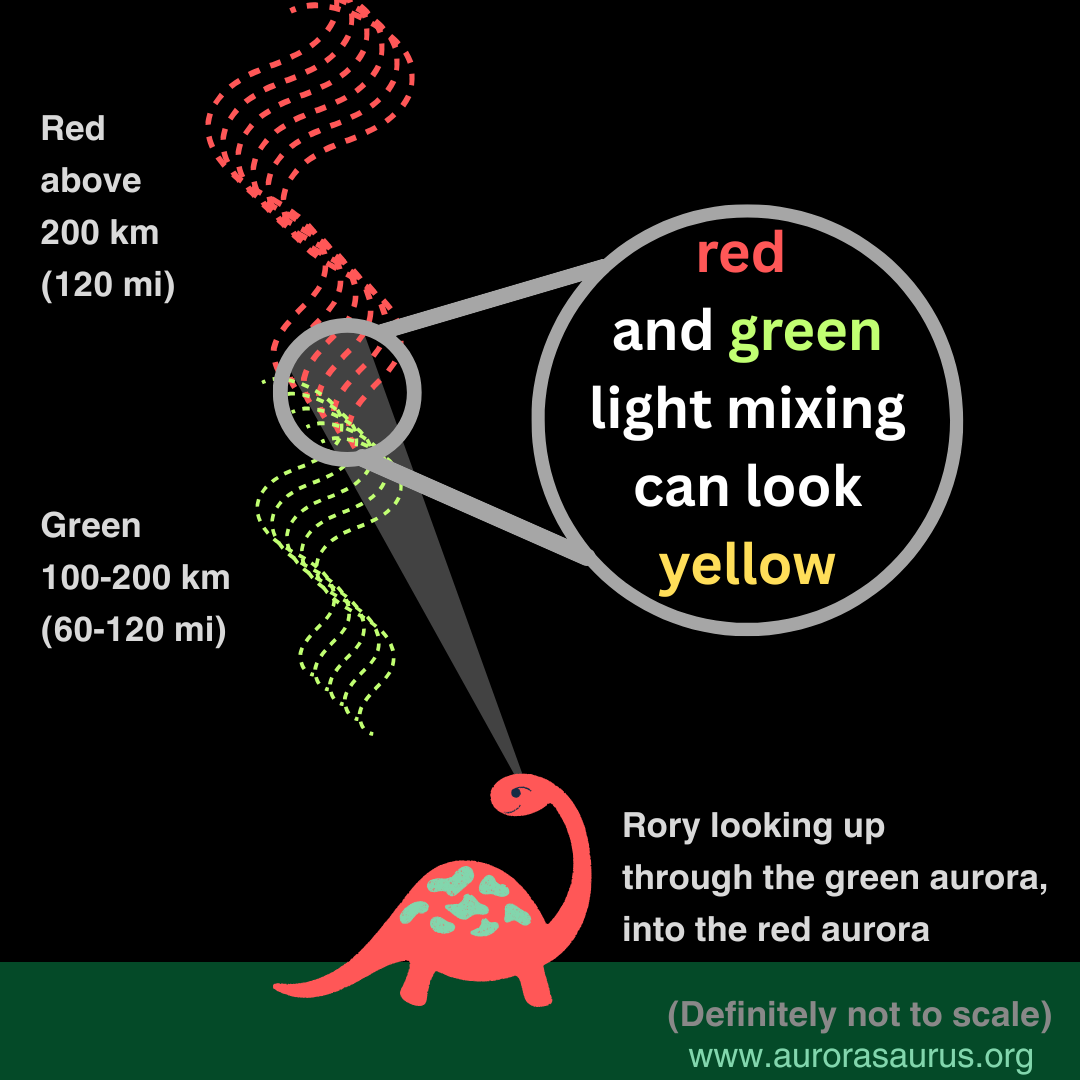
Because the aurora is a mist of tiny points of light, it is translucent, or see-through. Depending on the observer’s perspective, different colors within the aurora can overlap. In other words, we can sometimes look up through lower-altitude green aurora into higher-altitude red aurora in such a way that the red and green colors blend together. To our eyes, colors of light mix differently than colors of paint. For example, mixing red and blue paint makes green (subtractive color), but mixing red and blue light makes magenta (additive color).
When light mixes this way, all wavelengths of visible light combine to form white light, while total darkness is the absence or absorption of all wavelengths of light. Light mixing is called “additive color” because the component wavelengths are added together toward the total of all wavelengths. Paint mixing is called “subtractive color” because the wavelengths are absorbed (subtracted) away from a sum of all wavelengths.

Additive and Subtractive colour primaries by Lisa Cianci, CC BY-NC-SA 4.0. On the diagram, you can see that the main colors of aurora, red and green light, can mix to form yellow. Similarly, other auroral colors can mix to look pink, cyan, or purple.
We can demonstrate this color mixing by making a tool called a whirligig, buzzsaw, or Newton’s disc. This is an ancient device developed by a number of cultures across the world. Into the 20th century, they were also made as toys using wooden discs or buttons. Because whirligigs spin so quickly, in 2017 Stanford University bioengineers built on the concept to create a low-cost, human-powered medical centrifuge. The version we will use in this post to demonstrate the colors of the aurora is based on historical toys. To avoid confusion with a physics concept also called “whirligigs”, we will call this device a “spinner.” When the device spins, light reflects off its colors and they appear to mix in additive color.
Materials:
- Template:
- If you prefer to cut out the circles yourself, use this stencil pdf file to print, cut out, and trace the shapes. If you don’t have a printer handy, set the pdf to 100% and gently trace one of the circles onto a piece of paper from your screen.
- If you prefer not to cut the circles yourself, you can visit a makerspace and use a laser cutter like a Glowforge or Xtool to automatically cut them out. We have created an svg file that will work with most laser cutters.
- Heavy, white chipboard or a similar material called binding board. Corrugated cardboard can work, but not nearly as well; you want a stiff material with some weight to it. The heavier it is, the easier it will be to spin.
- Please note: according to Stanford University, some whirligigs can spin at up to 125,000 rpm and exert 30,000 Gs of force. Materials that are glued or laminated together can come apart very quickly and sharply, so it is best to use something that is one single piece of material. Things like laminated wood or 3D prints, which are made in layers, may not work for this reason. Chipboard made for laser cutters (sometimes called “quickboard”) at 2mm thickness works well and is available at online craft stores
- Scissors
- Pro tip: to cut cardboard and chipboard more easily, use a pair of serrated bandage scissors
- Small pointed implement to poke holes in the chipboard. For this example, we used a 1.4mm crochet hook
- Markers in aurora colors: red, green, blue, and pink
- String cut in 2.5ft pieces: one piece per spinner. Regular string or butcher’s twine is best; overly narrow strings like fishing wire can pinch fingers when spinning the device, and yarn tends to have too much air resistance to wind properly. Be sure to use string with little to no stretch.
- Pen or pencil for tracing and marking the circular shapes
Preparation:
Note: an adult should prepare the circles ahead of time. Examples are shown in chipboard and corrugated cardboard.
Use a laser cutter with the svg file, or make the circles by hand:
- Print the pdf file and cut out one of the stencils. Poke the point of a pen or pencil through the center of each of the small circles.
- Trace the stencil onto the chipboard or cardboard, marking the locations of the small circles through the holes you poked in the stencil.
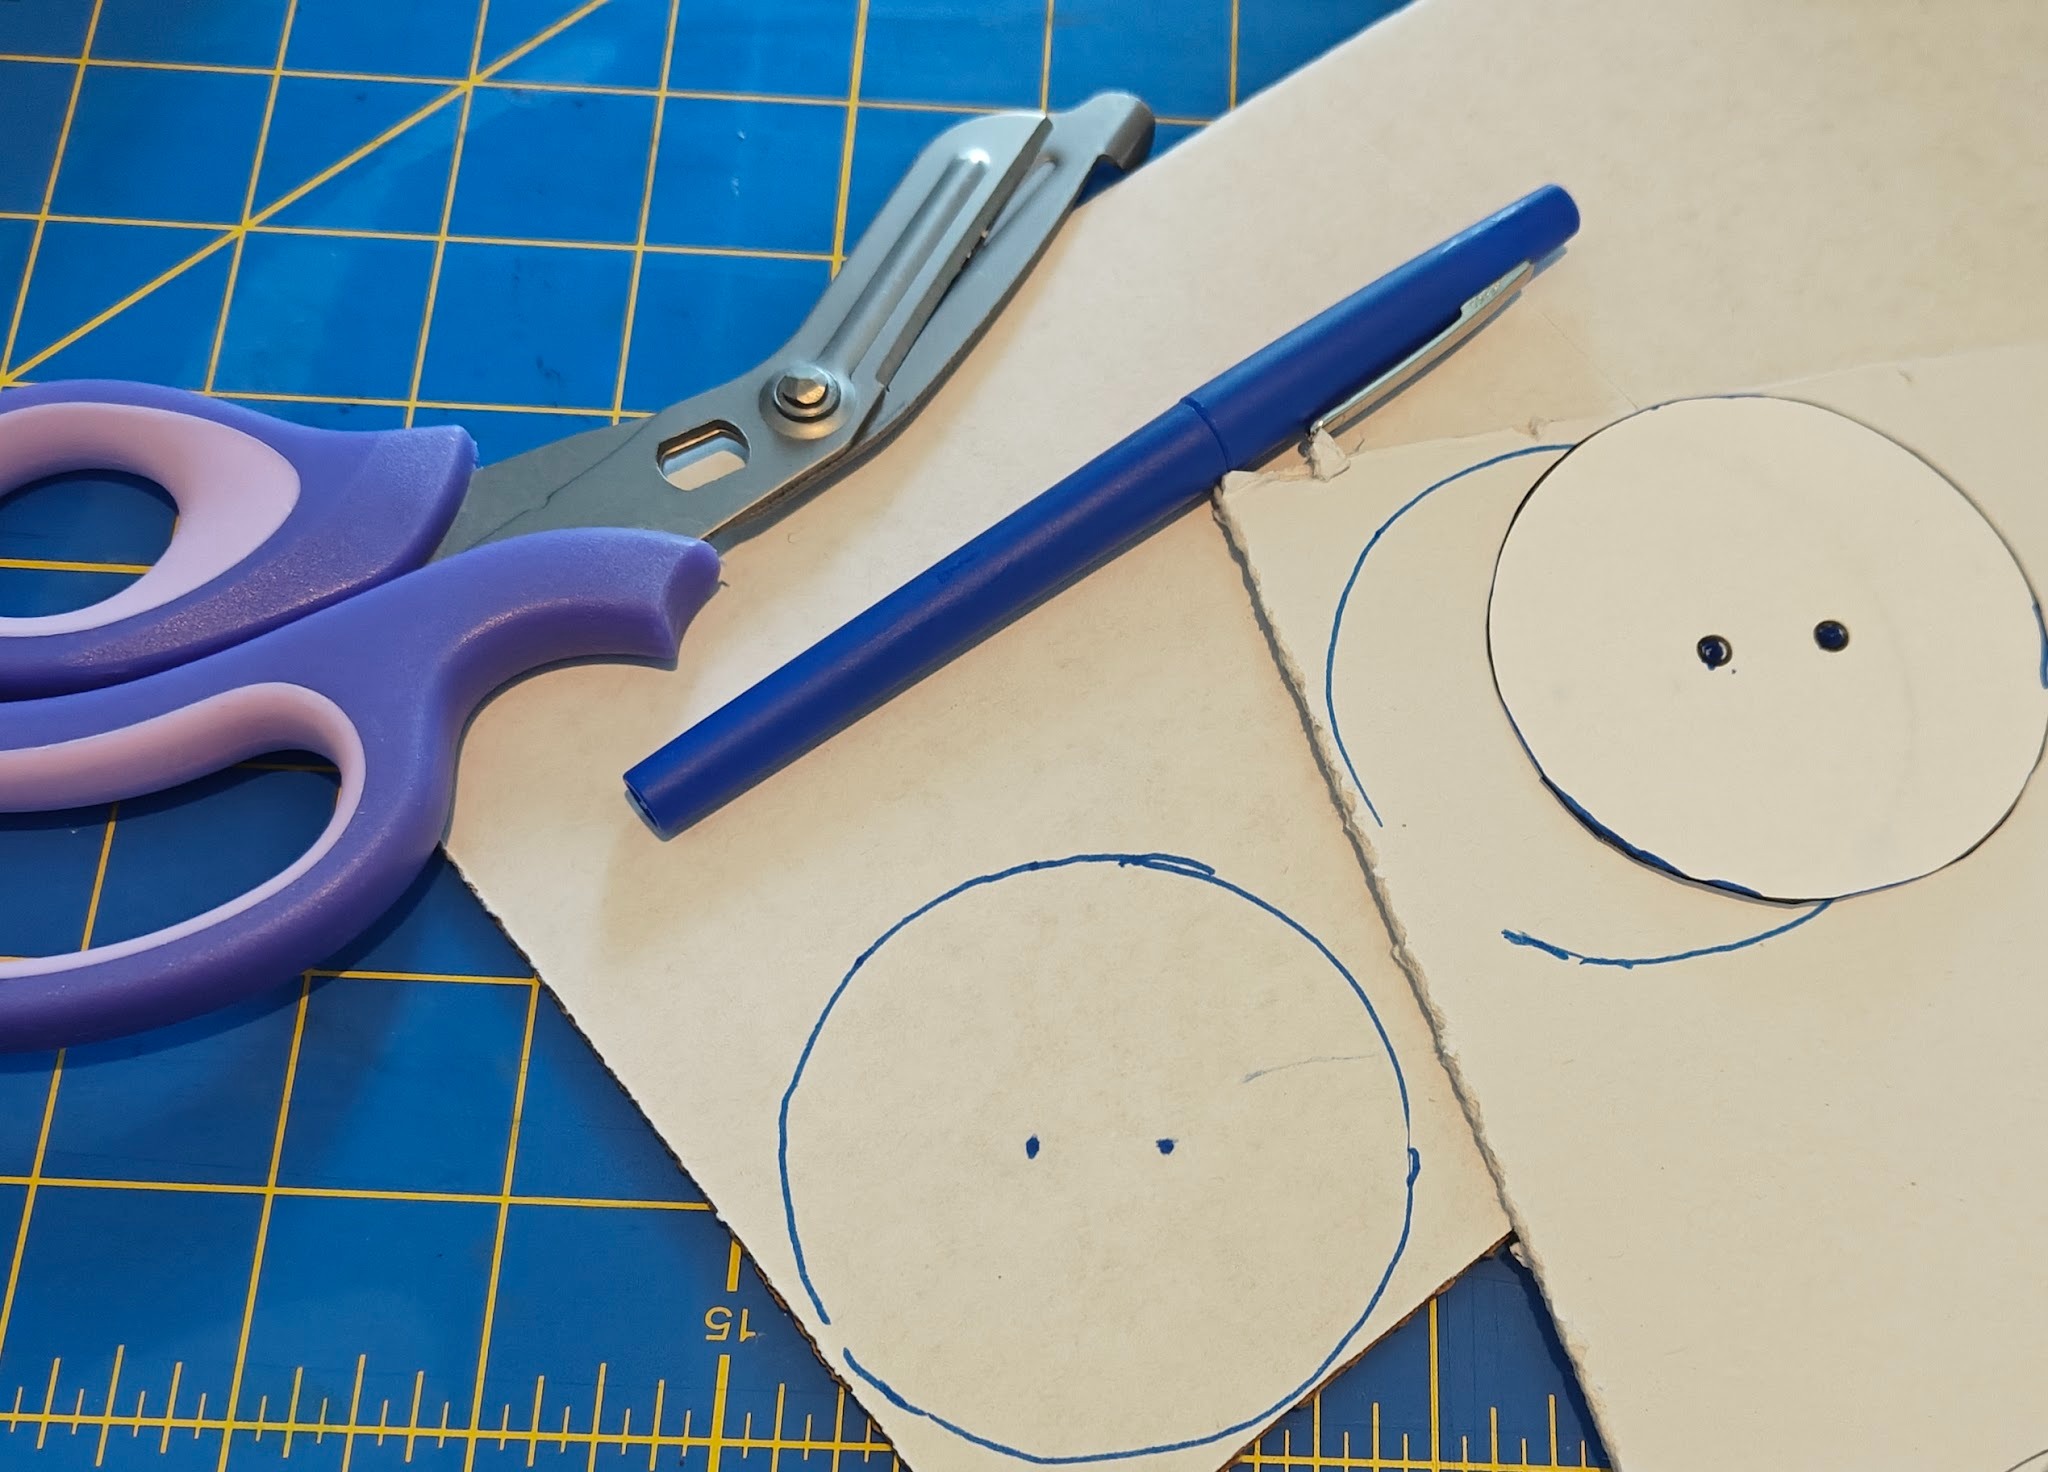
- Cut out the chipboard or cardboard circle.
- Using a small pointed object, carefully and safely poke equally sized holes in the chipboard or cardboard where you marked the small circles. Twirl the implement when it is poked through to make the holes even and to help clean off any excess paper.
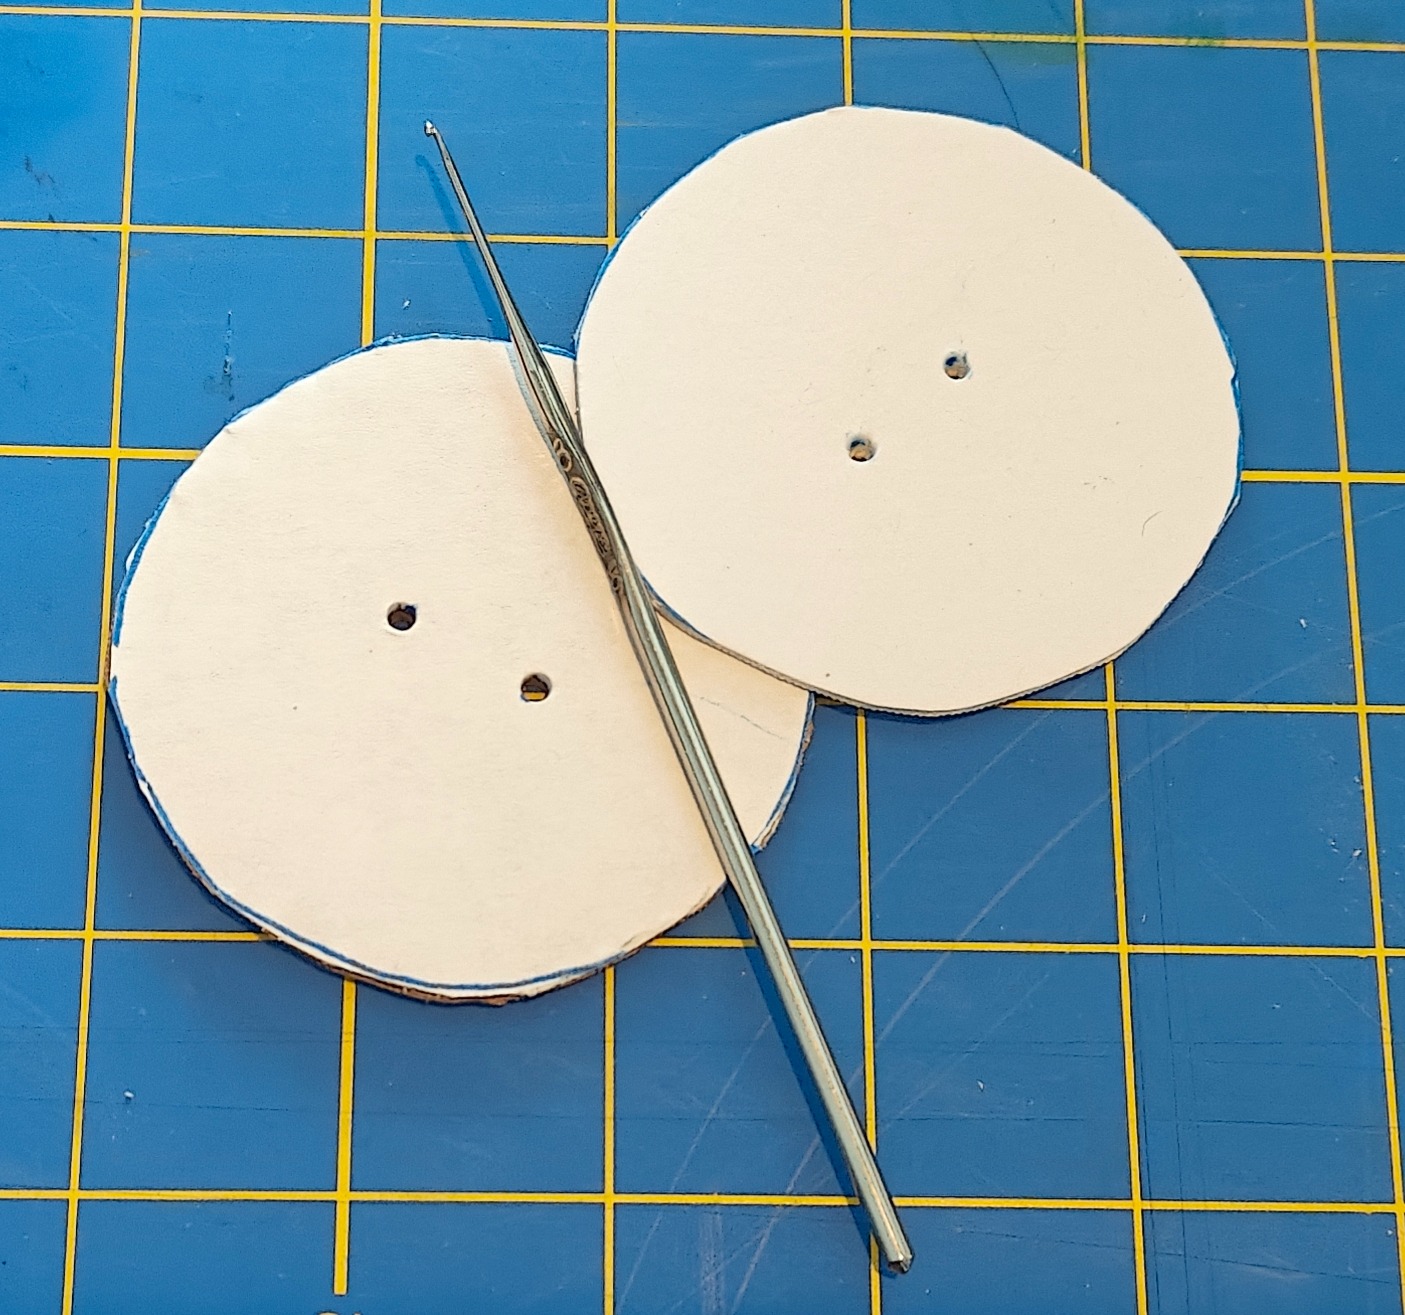
- Try to be precise when cutting out the circle and poking the holes; if the circle is uneven or the holes are off kilter, the spinner will not work as well.
Activity
- Use the markers to divide up the circle in whatever proportions you like and color with aurora colors. It works best when each segment is fully colored in with solid and bright hues.
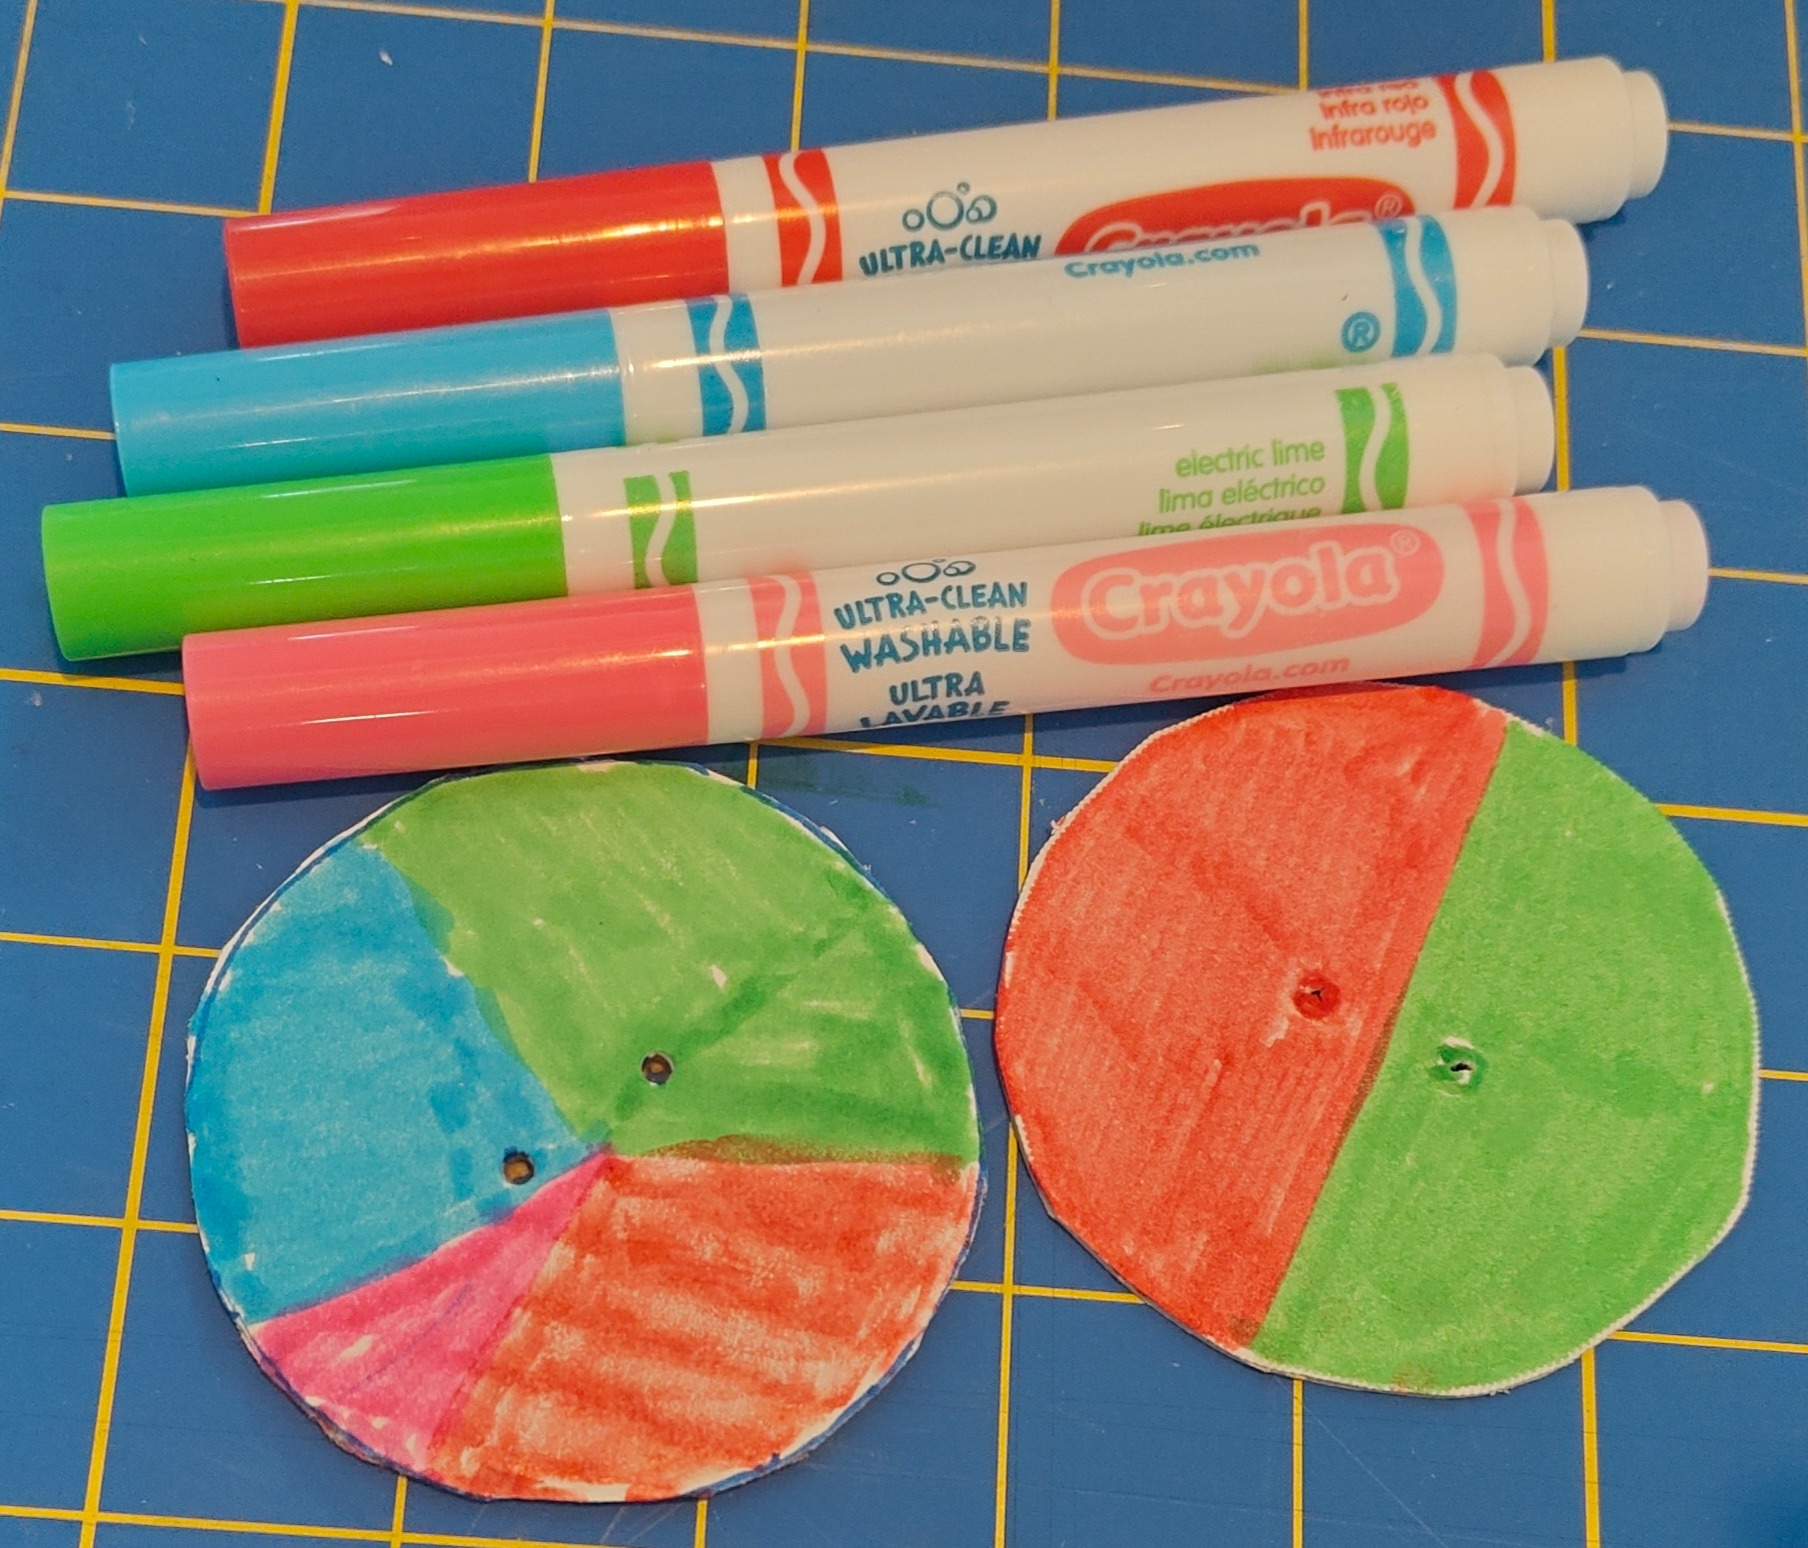
- Thread each end of the string through a different hole in the circle. Tie the string in a firm knot.

- You have created your first spinner!
- To operate the spinner, put two fingers into either side of the string and hold so that the circle is upright in the middle.
- Holding the string, move your dominant hand in a circular motion to wind the spinner.

- Once it is wound up well, pull gently on the ends of the string. The spinner will unwind, getting faster and faster, and then wind itself up in the opposite direction. When it begins to turn, it will make a “click” noise. Relax your hands, moving them back together, and let the spinner’s momentum wind itself back up. Then, pull gently again and repeat. Be sure not to touch anyone with the spinning device. This step is a little tricky and may take practice: here’s a video tutorial to help. Be patient with yourself and keep trying! It may take quite a few tries to get right, so if you are presenting this to someone else, take the time to get the hang of it by yourself first.
- Troubleshooting:
- If your spinner will spin when you pull on it but not re-wind itself, you may need to stop pulling on the string a little bit sooner. Think of it like jumping rope: if you wait until the rope hits the floor to jump, you will trip. You have to jump just ahead of the rope passing by. Likewise, you want to stop pulling a split second before the “click” noise.
- If your disc turns sideways when it winds, or wobbles, try making sure that it is centered on both sides of the string, the holes are clear, and that there is no cardboard sticking out to the side of the circle. Sometimes the string catches on these bits and has a harder time turning.
- As a rule of thumb, the more weight the spinner has, the easier it is to use. Heavier spinners are more forgiving in terms of how much force you pull with, and don’t tend to turn sideways as much. If you are using a lightweight cardboard, pull very gently. If you still can’t get it to work, try a heavier material.
- Troubleshooting:
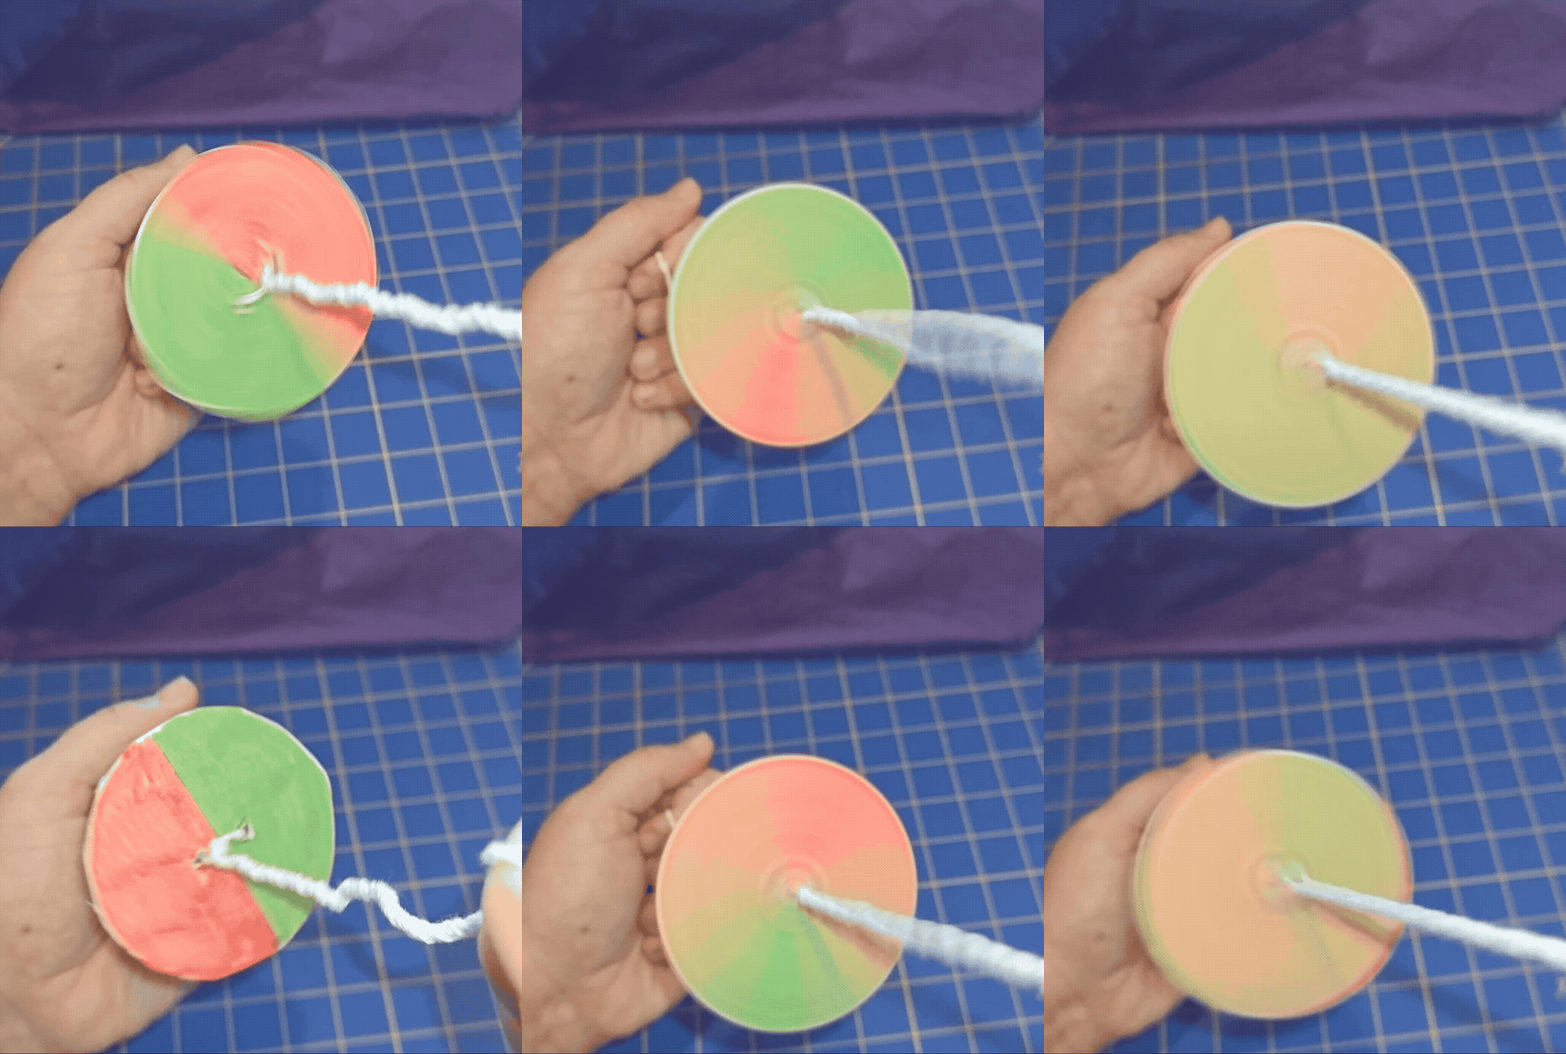
- What colors do you see when the spinner is spinning fast?
- Try making spinners with different aurora color combinations. What colors do they make when they spin? Can you get spinners to turn purple, cyan, or magenta? What happens if you add the colors of sunset or sunrise?
If you try this activity, we’d love to know! Tag us on X/Twitter or Facebook. Additive color is also only one of many different ways that auroras can appear in different dominant colors. For example, some auroras appear mostly red from low latitudes. Check out our other blog posts for more deep dives into aurora science.


