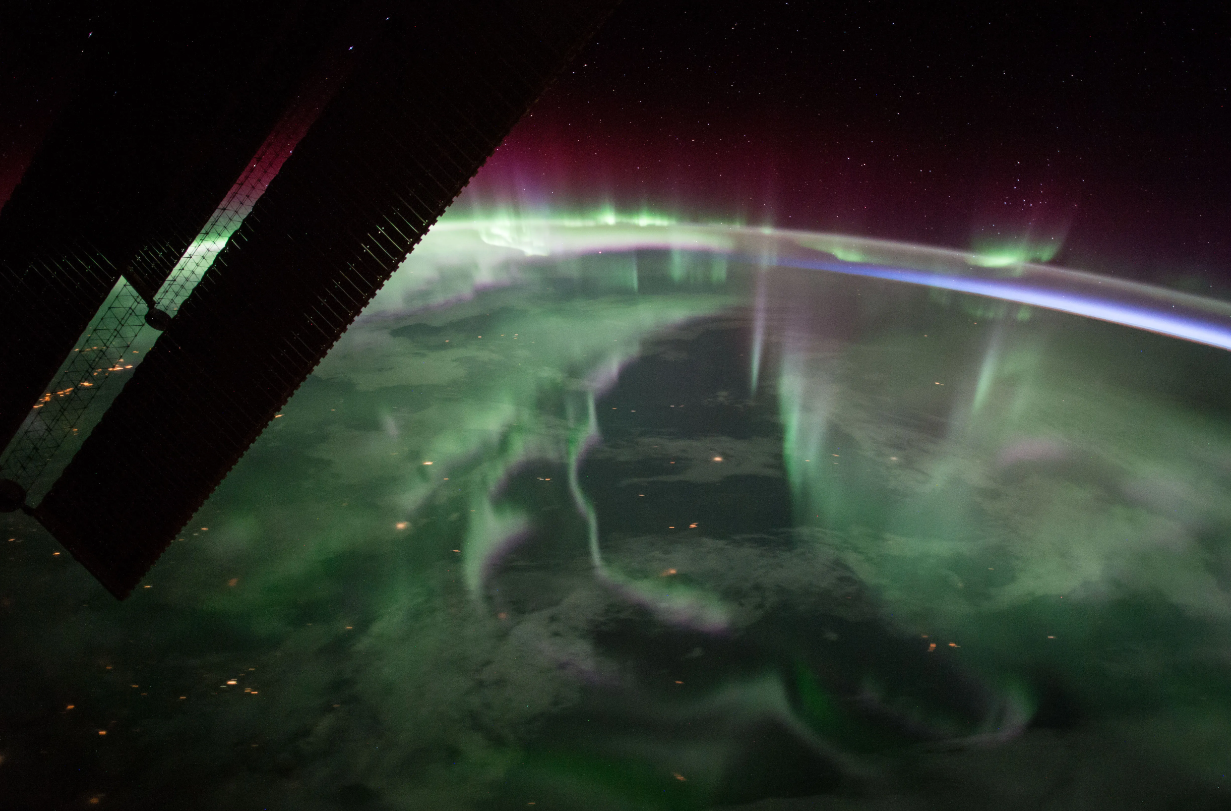
We often talk about the altitudes of aurora colors, but it can feel difficult to get a sense for just how high up the Northern and Southern Lights shine. Sometimes they seem to glow at vast distances high up in the sky, and sometimes they feel close, almost within reach. While we discuss auroral altitudes from a Western science perspective in this post, we recognize that there are many other ways of knowing around the world that approach and build relationships with this aspect of the aurora.
At Aurorasaurus, we are in the midst of NASA’s Heliophysics Big Year, celebrating May’s theme of Visual Art, which includes crafting and fiber arts. The timing is great for our aurora australis friends, too! In this post, we’ll walk you through a simple, beginner-level pattern to make your own aurora winter hat (also called a beanie or toque). This is one way to take part in the Heliophysics Big Year, keep warm while aurora chasing, and have a tactile way to get a feel for the height of the aurora. Get ready to make your next aurora chase in style!
Gather Materials
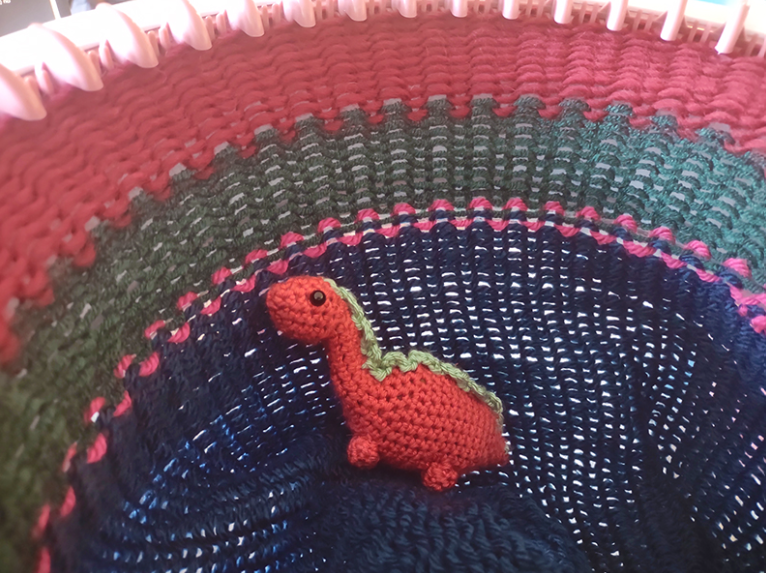
This pattern can be created using any row-based fiber art. While we are using a 48-stitch hand-cranked knitting machine for our example, you can knit or crochet the hat by hand, or use other techniques. For the sake of consistency, in this post we will use the word “knit.”
For an adult hat, you will need:
- A 48-needle knitting machine, or if you prefer to hand knit/crochet you will need knitting needles or a crochet hook sized to your yarn (needle and hook sizes are usually printed on the yarn label.)
- Yarn or tapestry needle for finishing the hat
- Dark blue yarn
- Pink yarn
- Green yarn
- Red yarn
- Optional: stitch counters if hand knitting or crocheting, to help keep track of the number of rows.
- Optional: basic tutorials for the fiber art you are using. You will need to know how to cast on, cast off, do a basic stitch in a circle to make a tube, change colors, and finish (complete the piece by folding, gathering, or stitching, depending on technique). Beginner tutorials covering all of these techniques, as well as basic hat patterns, are plentiful on blogs and YouTube. You could use any hat pattern you prefer; what matters most for this project are the stripes and row count.
Some notes on yarn: For our example, we used worsted weight yarn (a measure of thickness, also called Aran, medium, or 10 ply.) Gauge is 3 stitches/inch. Amounts of yarn will vary, but as an example, we used about 95 yards of blue, plus about 1 ⅔ yards of pink, 17 yards of green, and 50 yards of red. In addition, it can be difficult to color match red, green, and pink yarn. We took a bit of artistic license and used colors with blue undertones: cranberry, teal, and berry. If you want to take the aesthetic side even further, you could use sparkly or glow in the dark yarn to represent the aurora’s shimmer!
Knitted aurora
Overall, we’ll be knitting a tube. The tube will then be folded to create the brim (bottom) of and the ends of the tube will be gathered together to create the crown (top). The first half of the tube becomes the lining, and the second half becomes the exterior. Each row on the outside of the hat will represent 6 mi (10 km) altitude. In reality, the altitudes of each part of the aurora vary as it dances through the sky, but we will use average altitudes for this project.
Pattern:
- Cast on with dark blue to knit in a circle that will become a tube.
- Knit 48 rows in dark blue. This will ultimately become the lining of the hat.
- Knit 9 rows in dark blue to represent the sky from 0-54 mi (0-87 km) altitude.
- Change colors to pink.
- Knit 1 row in pink for the aurora’s nitrogen lower border, which shines during strong auroral displays. In real life the thickness of the nitrogen border can vary, but for this project we’ll have it represent 54-60 mi (87-97 km) altitude.
- Change colors to green.
- Knit 10 rows in green for that classic oxygen green aurora, rising from 60-120 mi (97-193 km) altitude. This region can also have some nitrogen blue, although that is not represented in this project.
- Change colors to red.
- Knit 30 rows in red for the oxygen red aurora, which can stretch from 120-300 mi (193-483 km) altitude and be seen from great distances.
- Cast off the project, then fold and finish the hat according to your favorite tutorial.
- Try on your snazzy new science hat!
How high up is the aurora?
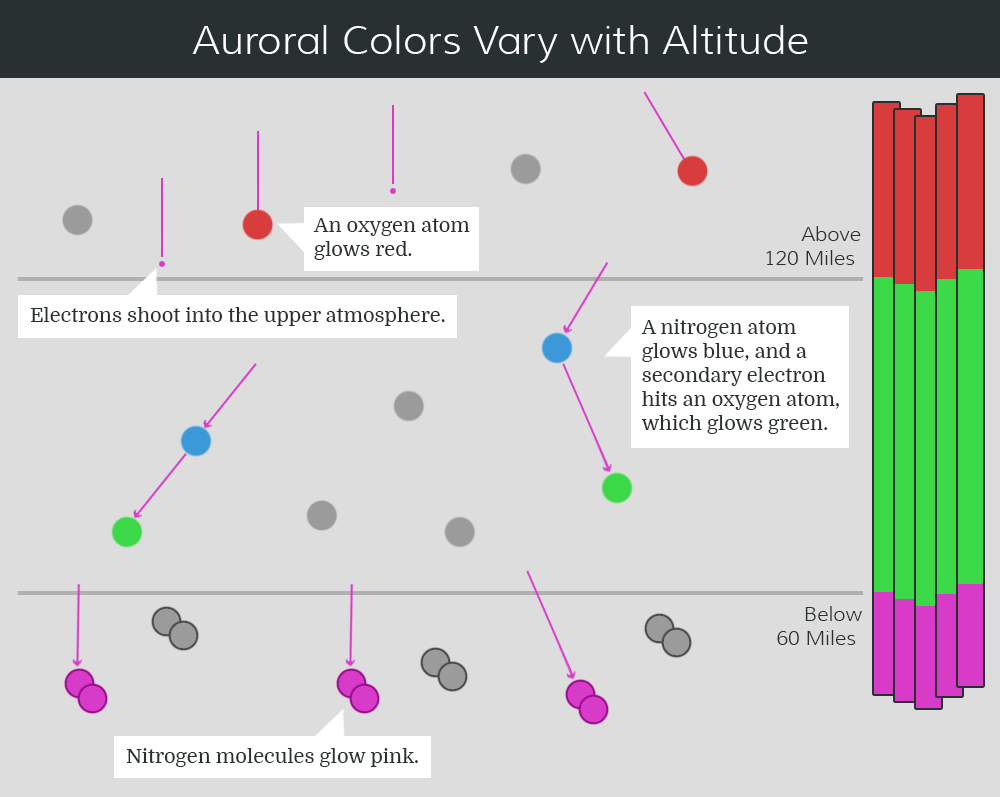
From a Western science perspective, the aurora is both incredibly high in altitude and enormous. With the hat laid out right side up, we can demonstrate this by counting up from the brim through the knit rows. Each row represents 6 miles (10 km) altitude.
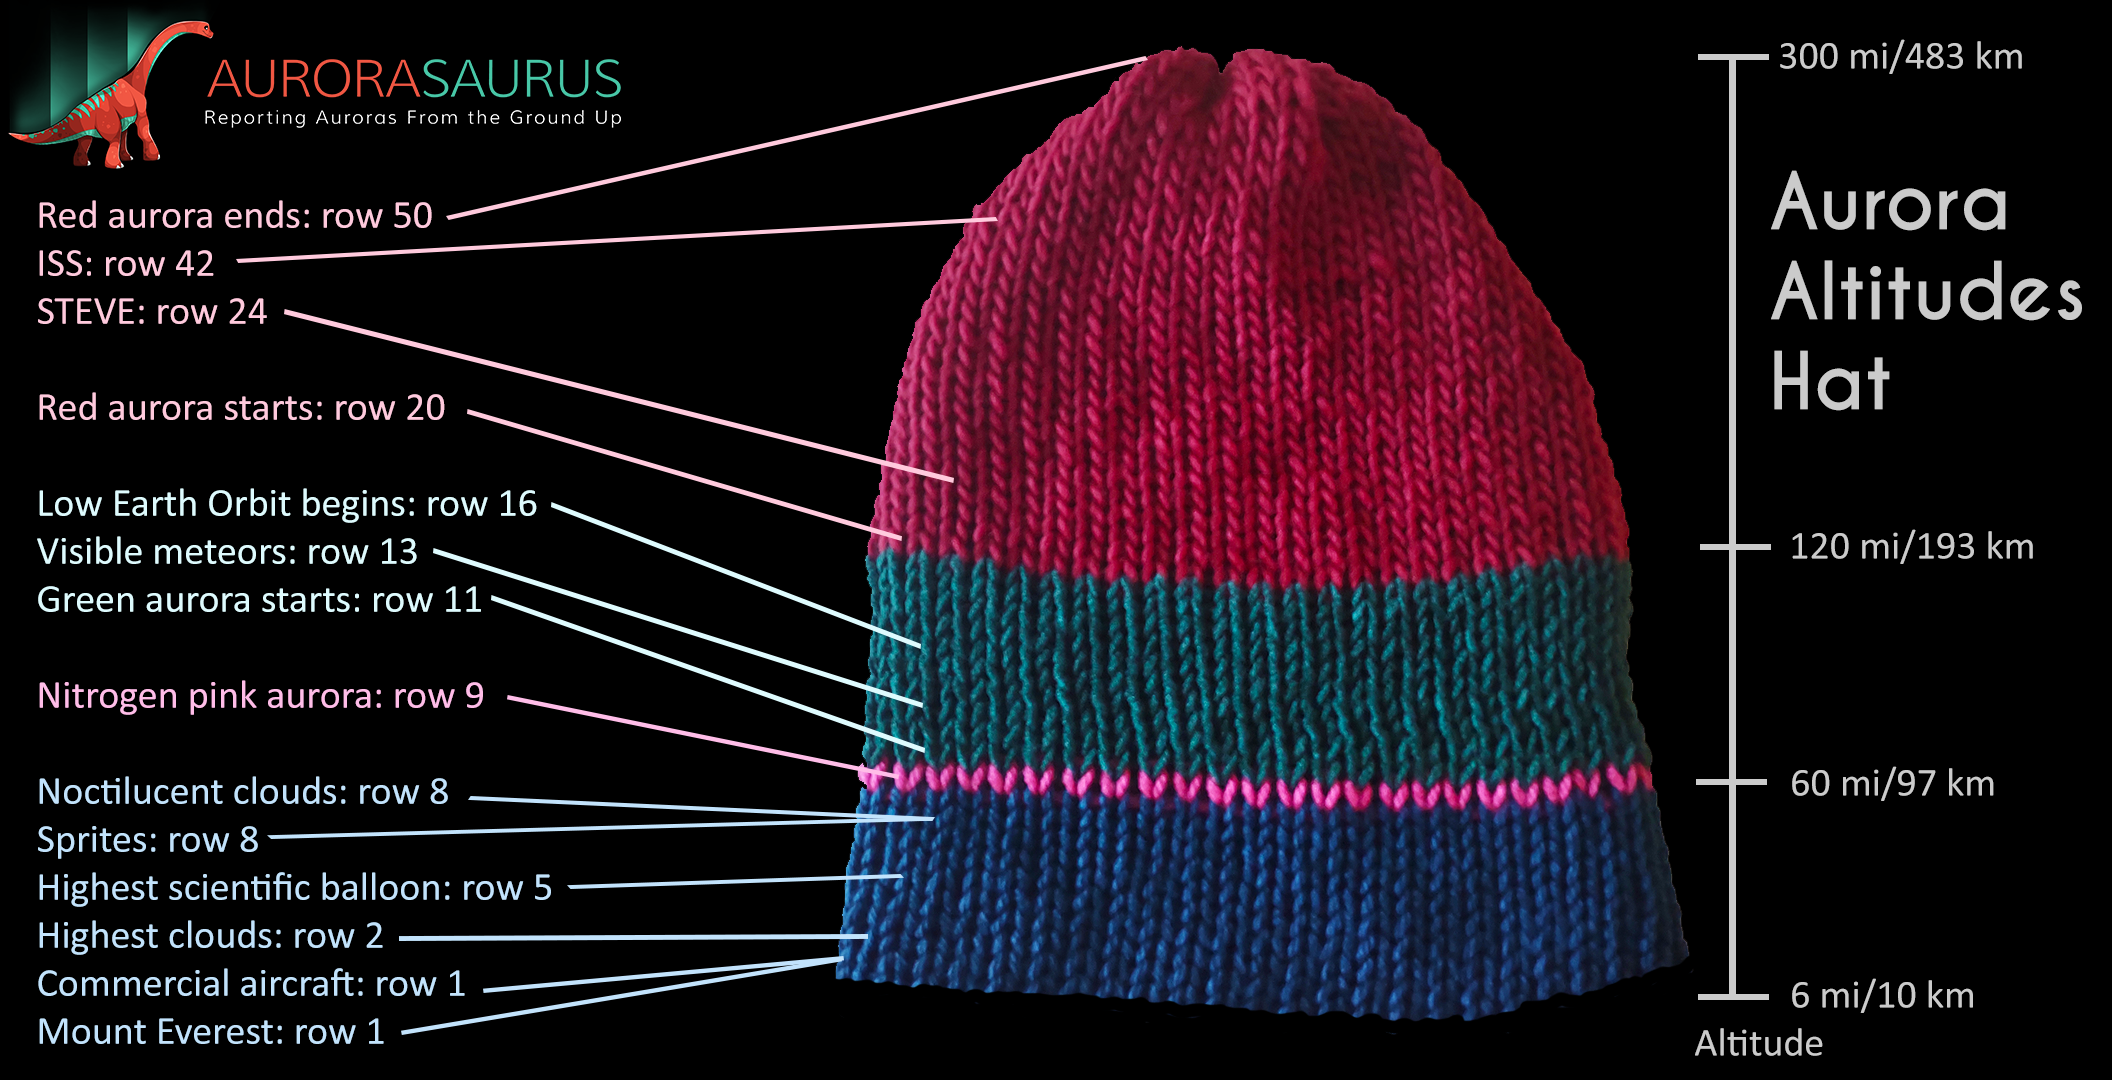
Row 1 at the bottom of the completed hat is the altitude of Mount Everest, as well as the height at which commercial airplanes fly. The highest clouds only make it to row 2. Scientific balloons can fly up to row 5. Sprites dancing above thunderstorms, as well as the unique noctilucent clouds that some aurora photographers capture, shine in row 8. All of these phenomena happen in the blue stripe, below row 9, the nitrogen pink lower edge of the aurora!
Within the green stripe, which starts at row 10, we have visible meteors (shooting stars) at row 13. The lower edge of Low Earth Orbit (LEO), where some satellites orbit, starts at row 16. The red stripe—oxygen red aurora—starts at row 20. Although STEVE occurs equatorward of regular aurora, its altitude is about level with row 24. And capping it off (pun entirely intended), the International Space Station hurtles through the red stripe at row 42, while the highest extent of the aurora is row 50. In other words, stretching from rows 9-50, the aurora rises to 50 times the altitude at which planes fly: mind-blowingly tall!
In fact, gathering data toward measuring the height of auroral phenomena is one way that aurora chasers making reports to Aurorasaurus can help advance science. Using photo reports that include accurate time and location data, scientists can match pictures taken simultaneously, and use math to triangulate the altitudes of what they see. Making reports, in other words, means that participatory scientists really can #DoNASAScience! Be sure to wear your hat/toque for extra flair!
The sky’s the limit!
We encourage you to take part in the Heliophysics Big Year by making your own aurora hat, sharing your knowledge with your friends, and innovating on the pattern in your own way! For example, to give it greater tactile accessibility you could use different textures of yarn, or add beads or charms to mark the changes in color or the altitudes of various phenomena. You could make your hat sparkle, glow in the dark, or be reversible. You could even make hats to represent other concepts, like the altitudes of different kinds of Transient Luminous Events (TLEs), the layers of the Sun, or the timescale of the universe (could a pompom represent the Big Bang?) How about a pair of aurora color earrings to match?
Whatever you choose, if you make a HelioCraft we’d love to see! Please tag us on Facebook and X/Twitter and include the @NASASun hashtag #HelioBigYear. We can’t wait to celebrate the Heliophysics Big Year Visual Art theme with this wonderful community!


